30 Days of Photography Tips… Day 21
TIP #21: When possible, use a custom white balance target.
White balance: Sometimes an image can look too blue or too orange, in these cases the white balance is off. The white balance is what creates the realistic color cast for your image. Just remember with accurate white balance, white color in real life should look white in a picture.
I use a white balance target to create custom white balance in many situations. Not in all situations. But in many. In real, normal life… the part of life that includes swim lessons, birthday parties, bike riding, etc, I choose to use “auto white balance”. But in those times when I have an extra couple of minutes (or on a photo shoot), I choose custom white balance. Here is a before picture of some white papers under some indoor tungsten lighting…
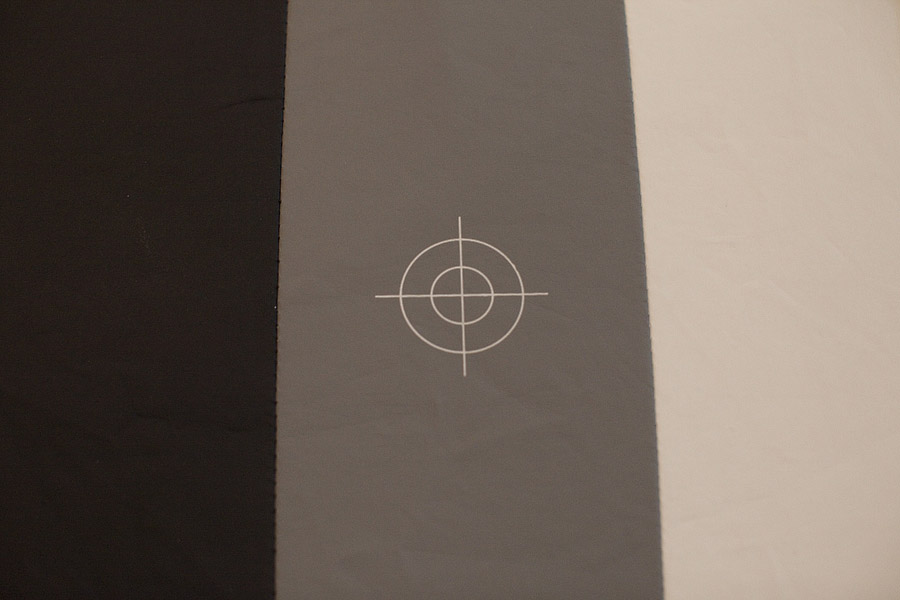
Then, I take a picture of my white balance target in order to show my camera what white looks like in this particular lighting situation…
And… then after changing a couple of settings in my camera (open your manual to see how to set custom white balance), then here’s the same shot in the same lighting…
Closer to true white. Right? You can find a white balance target like mine here, in case you’re interested in trying it out.


