
my manual settings
Camera Lens Length

The length of your camera lens. Does it matter? You hear and read about lenses that are 50mm, 85mm, 35mm, 24-70mm, 70-200mm. Does it matter? Yes, it does.
Read MorePhoto a day – May 23
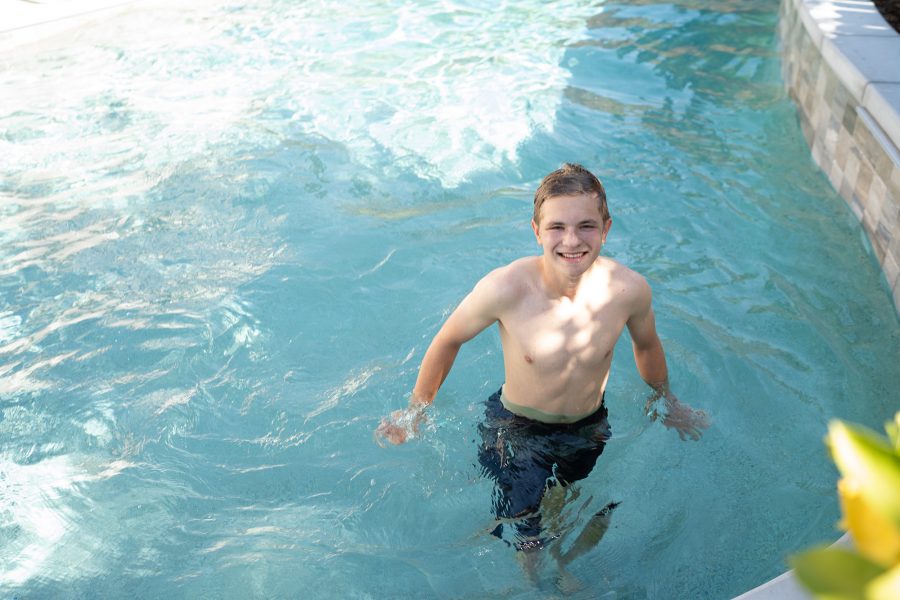
The pool is bright, the sun is bright, everything is reflective. So bring that ISO on down super low, and get in the shade if possible
Read MorePhoto a day – May 22
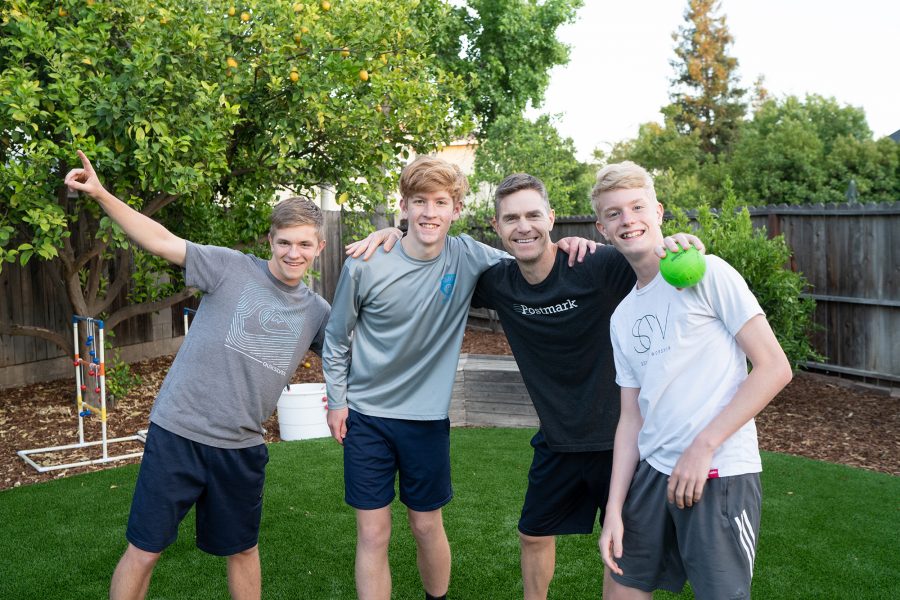
Make your people look at the camera sometimes. I often like to just capture moments as they’re happening,
Read MorePhoto a day – May 20
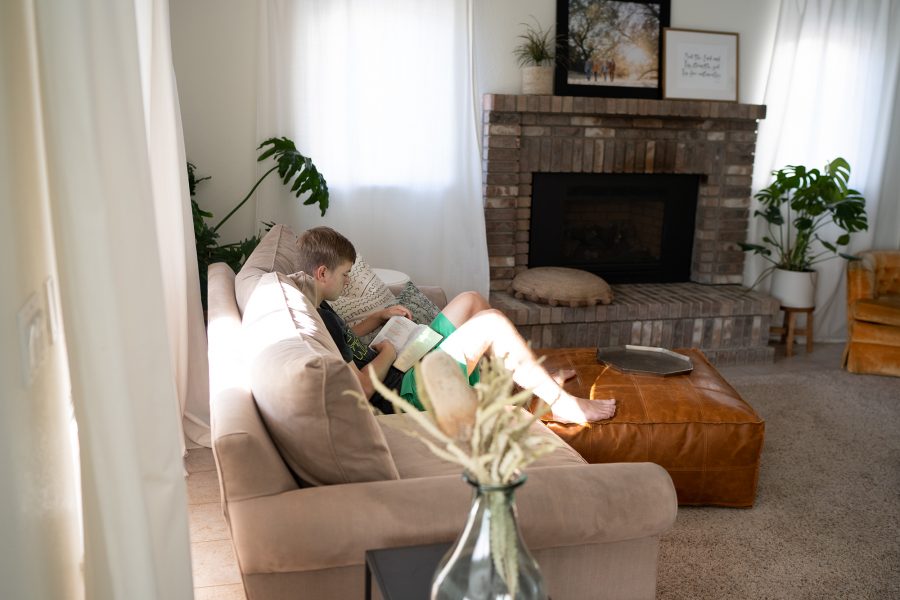
Watch out for “hot spots”. You don’t really want them. See the bright sun spot on my boy’s leg?
Read More